Archive for the ‘pet projects’ Category
More code.
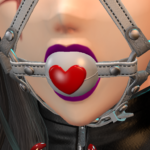
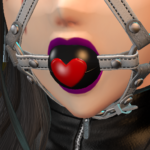
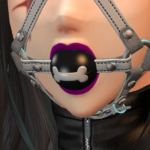
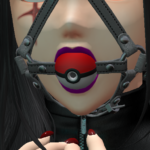
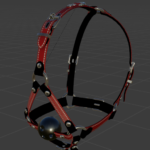
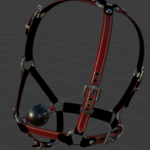
More code! I’ve finished writing the hud, the receiver, the skin selector for the ball styles, I added a button for it on the HUD, you can also just click the gag strap.
Some of the ball styles actually ignore the color that the hud sets if the design is already colored.
Potential bugs aside, I believe that I am done with the code side of things. Soo… YAY?
Radio silence but also code
I’m sorry for the lack of updates this week. I was a bit sick on Monday and also today, it doesn’t appear to be anything serious so no worries. Despite that, I’ve done some progress on the gag project. A good chunk of the code I need is complete, and besides the HUD, what remains is mostly details & “nice to have” aspects that I might or might not go with.
It has a style selector (for the ball) that can be accessed when the gag is unlocked (a bit like the Avara hood), the in/out system of the stuffed ballgag, and an overhead chaining point like the head cage.
Quite the hybrid little thing.
Ballgag project finally nearing completion!
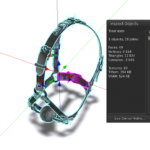
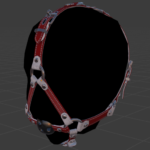
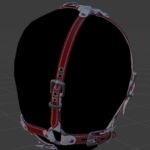
I’ve finished LOD-ing everything for the ballgag project, all the final models are uploaded (18 parts total, it’s adjustable but no one said it was gonna be easy right?) and re-assembled in SL.
I had to eyeball everything since all the parts have been angled to make them easier to scale in length.
Ignore the texture stats obviously, I have to finish up the final texture uploads, and then it’s code time!
Last batch of ball designs, and some LOD modeling
I finished the 3 last ball designs I wanted. I know it doesn’t cover every possible desire out there, but I have to stop somewhere right?
In addition, I can always make more later if there is a demand for that.
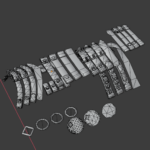
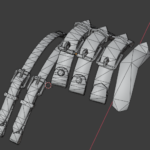
I also started making the LOD models for the different straps, I included a picture but there isn’t a whole lot to see there really: gradually more aggressive reduction while keeping the general shape of the object alive.
Some of the social media sites I post on are getting a bit annoying with their “lewd image detection”, maybe I should start using a bright red demon skin for picture showcases :3
Quick friday update!
Nothing important, just a quick Friday update featuring more balls 😛
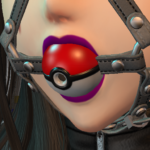
I’ve redone the details & coloring on the poke-n-ball to make it look more vibrant with exaggerated details.
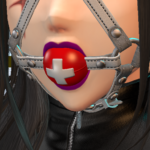
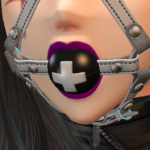
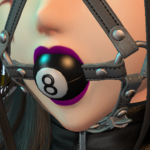
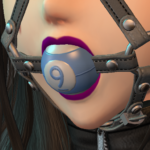
Also made an 8-ball (popular idea for some reason) and the “nine-ball”.
Balls for the ball god!
Hey so… I heard you liked options? Ball options? :3
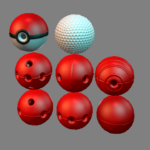
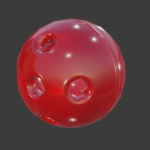
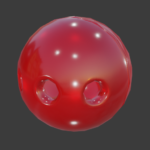
A few of those you’ve already seen, but these are all the gag ball textures I managed to finalize today, with the exception of the poke-n-ball© which needs a little more work To really “pop” I think.
The golf ball was easy, there is a visible seam running along the side but it is barely visible. Most of the remaining options I have to do are basically decals.
Gag ball texture experiment!
It was about time to test whether the gag ball texture system would work right?
Good news: It works.
I encountered some mesh export issues that turned out to be a small blender bug related to the exporting of parented objects. The ball material itself needs a little bit of love, but the effect works quite well.
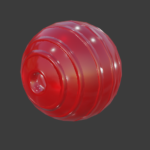
That molding seam I”ve added is unlikely to ever be visible, but if anything, it helps to line up the ball when editing. That version with all the ridges looks like a chew toy 😛
The texture is a bit larger than I’d like for something like this but “oh well”. Now I “just” have to come up with a handful of good (and not so good) ball ideas 😛
Hair practice
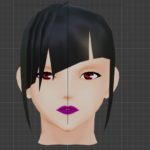
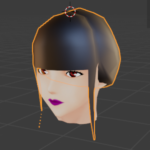
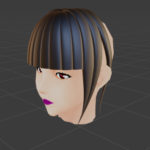
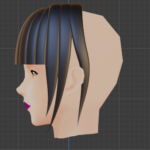
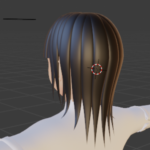
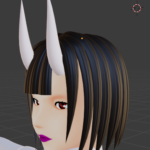
This has nothing to do with the current project, I know. But I was doing some hair practice and figured that I would share my pain with all of you.
- This was the “result” of a flat hair modeling method I was trying, then realized I did not know what I wanted to make style-wise. So this abomination happened.
- A more ‘traditional’ attempt, still trying to get some sort of front fringe (straight this time). Trash, just like the one before.
- This time using curves instead, styling is a bit easier.
- It went kind of okay until I got to the ear. So much visible scalp… Now, how do I finish this?
- This is what happened in the back. This method has issues if you don’t need pointed ends.
- This was a lire “advanced” spline curve approach with custom profiles and tapers. I was trying to get a cute oni-style with the horns.
Overall there is some good progression from version to version, but this is still all absolute trash and you wouldn’t catch me wearing any of this… or even sell it.
I guess it is some kind of bitter irony given how much I trash talk SL hair creators about their modeling skill 😛
Ballgag lining textures & rivets galore
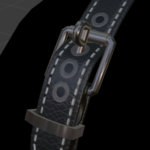
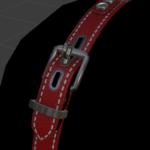
The ballgag lining took me a little longer to nail down than I’d like, but after several failed attempts at getting it to look more velvet-like, I decided to go with this variant because it gives the best aspect to the surface and stitching at half resolution.
It looks okay as long as you aren’t rubbing your camera against it. Most of the inner faces aren’t really that visible anyway when worn, only those folded ends. A bit blurry but it should be fine, I’m sticking to my half-resolution commitment there.
Or right, I also forgot for about half a day that I had a cool texture card method for those rivets on the lining, so there was that too.
A “not entirely finished” texture tests
Good thing I do those texture tests since I “once again” forgot to triangulate my bake targets and to copy the normals from the original model.
I haven’t test-baked the lining yet, I’m just hoping it will look okay at half-resolution. I think I’m gonna make the texture tint-friendly rather than using a dozen versions.
Come to think of it… the wire muzzle used a little alpha masking trick for the rivet backs… maybe I should use it again, so I don’t have to worry about those getting tinted at all?.
