Archive for the ‘pet projects’ Category
A very late update
Sorry for the lack of update, last week was a little rough on me. I am currently helping a relative moving to a new apartment, and I guess it was a little too much for me.
I have not made much progress since last time but made a bunch of LOD models as the automatically generated ones did not satisfy me.
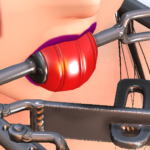
Furthermore, I still have not figured out a good way to differentiate the rubber and metal ball-gag, surface wise.
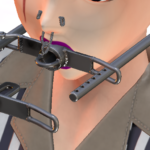
metal gag textures and models more or less complete.
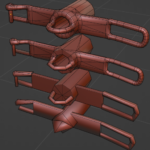
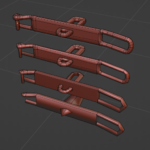
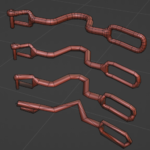
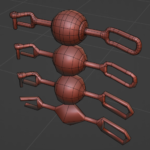
So that’s 4 mouthpieces for the metal gag, with 5 texture sets (the ball gag version has a metal and a rubber version).
My VR equipment was sent on RMA so no VRChat this weekend, which means I’ll probably try to get more work done… and more sleep.
I need to finalize the textures (a couple of final touches, watermarks and other checks) and make proper LODs for the gag pieces that need them.
And finally… whatever code is needed to get this to all work properly. It’s getting there!
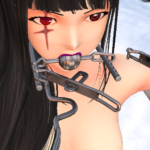
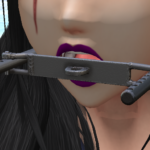
Metal gag in-world test!
Here is a progress update on the metal gag. Well, I say progress, but I didn’t get a lot done, unfortunately.
I had some UVs to correct after packing some parts to their final texture size & ratio. I also wasted a bunch of time trying to understand why my renders were too dark, checking my render settings, color management, one thing after another… until I realized that my scene lights weren’t around the object. Good job Kyrah.
The mouth plate could have more color variations and the wear is a little too even to my taste… I’m still working on that.
Metal gag texture tests
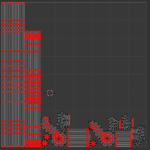
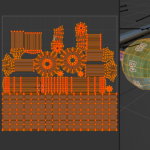
Other than the metal gag texture tests, I only have boring things to show today. Mostly unwrapping the models that I have finished so far.
I ended up with a weird normal mapping error on the second picture, I’m not sure what triggered it, but I managed to fix it… somehow.
The UV packing isn’t final, these big empty space won’t be in the final version.
Ball gag refinements, PBR and more!
I’ve made what I believe is a “more realistic” version of the ball gag mouthpiece than the original “Toothchipper3000”. I think it has more character like this. I’ve also done more low-poly work on the versions I hadn’t completed yet.
Not only that, but I spent a bit of time in the GLTF PBR (which stands for Physically Based Rendering) viewer beta. To keep it brief, Linden Lab is currently in the process of adding a new type of material in SL that is more in line with current industry standard used in Blender and game engines like Unity & Unreal.
Not only that but it appears that they are finally ditching the legacy rendering mode and materials will be enabled by default. For what I can see “old” materials will coexist just fine with the new ones, and they are improving how textures are handled in memory, since PBR materials have extra texture data for metalness and roughness.
You can see a quick preview of the improvements when rendering things like latex, leather and metallic surfaces.
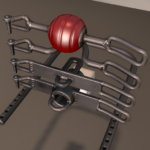
Steel gag low-poly work
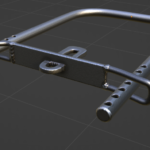
Another update on the steel gag! I’ve moved on to modeling the low-poly version of the parts I’ve completed so far. So that’s the neck bar and two of the mouthpieces.
I’ve gotten a bit of feedback on the other mouthpieces and the big steel ball might be a bit overkill… Therefore, I’m probably going to re-design it with some sort of rubber insert to make it a bit less harsh looking.
Steel gag progress update
A bit of a picture dump for the steel gag project today. Progress has been slow as I’ve been helping with a family move to a new home (so many boxes… exhausting).
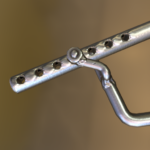
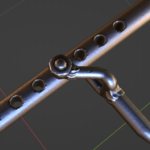
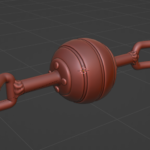
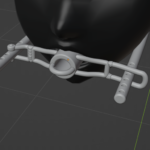
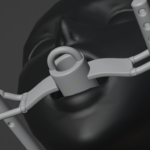
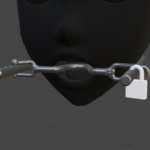
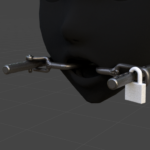
It took me several tries to figure out a good way to attach the other mouthpieces until I figured that the best way would be to use the “ball” gag as my reference point rather than the plate I initially made. The first two pictures are some pretty cursed attempts at that…
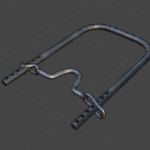
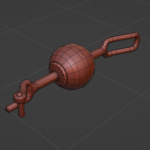
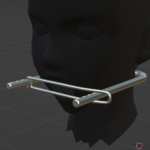
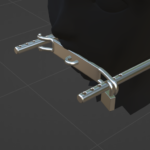
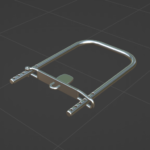
I’ve got 4 mouthpieces so far:
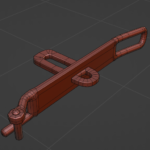
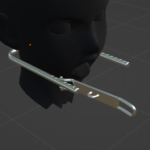
- Flat bar with tongue depressor.
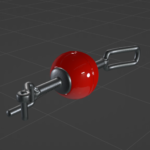
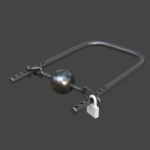
- Ball gag (metal ball? I’m not so sure…)
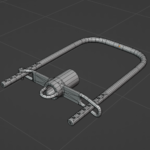
- Hollow tube (it isn’t big enough for oral tho).
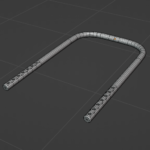
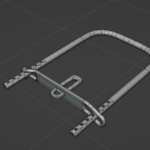
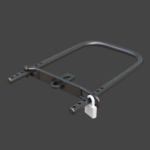
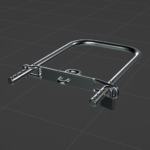
- U-shaped bar (really just a big unpleasant tongue depressor).
I’ve also gotten my metal shader to look the way I wanted it, looking quite gooood ~
I started working on a new gag!
Well, a new gag as in “new-ish” since it is an idea I’ve been playing with for a while.
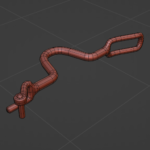
For those who remember, I originally was making a gag like this, which used flat bars that had slots in them, but it kept bothering me. It looked like it would be far too easy to bend (I can’t help it, must make structurally sound items)
I included a handful of early pictures, just to show the evolution. The plain challenge was to find an elegant solution to make the mouthpiece removable, but not once locked in place. I’m relatively happy with the current solution (that little bottom bar that swings out of the way when the gag is opened)
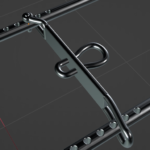
Still not sure about that tongue depressor, the flat variant was nice, but the “loop” is winning at the moment.
Also yeah, I already started adding welds here and there…
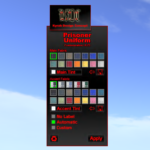
Prison Uniform HUD done.
Prison Uniform HUD done this time… I think.
I’ve also re-uploaded and re-assembled all the final versions of the 3D models yesterday. As you can see, that is quite a few parts. So here is the question:
I still would like to include a few versions that are “all in one” to save on attachment slots and script count, but I can’t think of a way that doesn’t require me to add a TON more variants in the delivery folder (“all in one” variants that cover every possibility would be something like 40 pieces, and that’s just ridiculous).
So it’s going to be separate top/bottom versions for the regulation version, unless someone has suggestions, requests for a prison/facility they are running.
Likewise, I’m not sure how to properly set up demos for this.
A handful of pants and chests
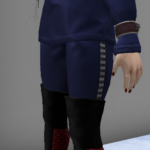
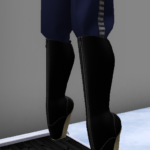
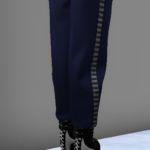
I’ve just finished pants and chests variants for the prisoner uniform. I did a bunch of tests with the assistance of a friend (with has a big collection of shoes) and cobbled together 3 variants of the prison uniform pants that are tucked at the ankle, below the knee and mid-thigh respectively.
- The “mid-thigh” variant appears to work properly with my Ayumi ballet boots, despite the fact I wasn’t even shooting for these.
- The “below the knee” version works quite well with all my knee boots and a few from other creators. It isn’t perfect, it works “okay”.
- The ankle high version turned out to be the most compatible of all after a few adjustments, making the pants a little bigger around the calves.
I’m not shooting for polygon-perfect compatibility here, “good enough” is what I’m hoping for.
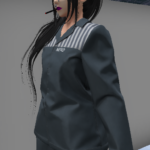
I forgot to take pictures of the small and large breast sizes for avatar 2.0, somehow? So in the meantime here is the “flat” version for… flat chests and boy chests. I’ve also slightly widened the bottom of the jacket to avoid clipping.
I tried to make a version of the pants that would fit under the warden straitjacket, but I can’t get it to look right…
