Archive for the ‘3D Stuffs’ Category
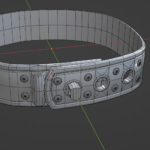
Laborious low-poly shackle
Work has gone relatively well Monday, Tuesday was a bit busy because someone wanted to buy an old model of mine and I had to do some prep work for them.
This is a fairly decent low-poly model in my opinion, unwrapping it with minimal distortion and minimal seams is a bit of a pain on the other hand.
I did not sleep last night, so I’m going to need some shut-eye to recover that today. I will try to catch up and get something good enough to do some test renders.
Some progress on the newk shackle set
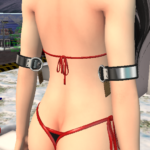
I did some more work on the shackle set, added some welds, some interlocking pegs, and even variants sized for wrists & ankles. To be fair, this project was mostly going to be the ankle piece, but it works for wrists & neck too, right?
I didn’t check my measurements initially and my scale test in-world turned out way off, so I re-modeled the wrists & ankles pieces to get them a bit thinner.
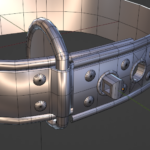
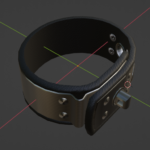
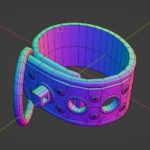
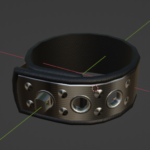
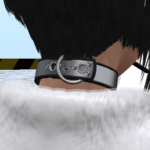
A new metal collar project on the way!
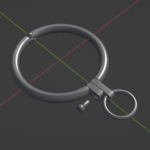
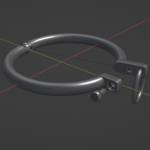
I started working on a new metal collar project! The idea behind it is, well something sturdy, unyielding but also rounded and low profile. Heavy lock support wasn’t really planned, but if it fits…
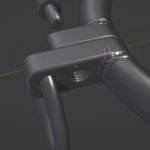
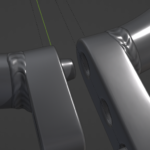
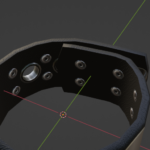
The rear hinge is the bit that took me the longest to get “just right” (weird annoying shape). It still needs some welding on the front.
I could also add a registration “tenon & mortise” between the locking flanges, I’m not sure yet. It more or less looks the part, as with all models, texturing is everything.
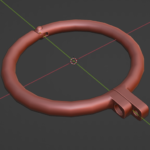
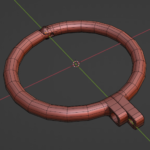
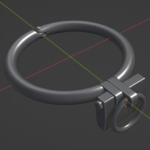
Working on some genital piercings…
I’m not sure how to make a tasteful picture of this 😀
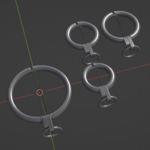
Long story short, trying to adapt my current piercings to be used genitally. I know some people already do that “unofficially” but those will have the proper LM identifier and wrist binding animations. I have a working prototype for the “silver ring” style, still trying to get the U shackle style to look “right” for this, it might or might not in the end.
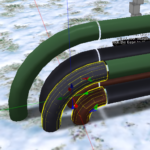
More pipe work
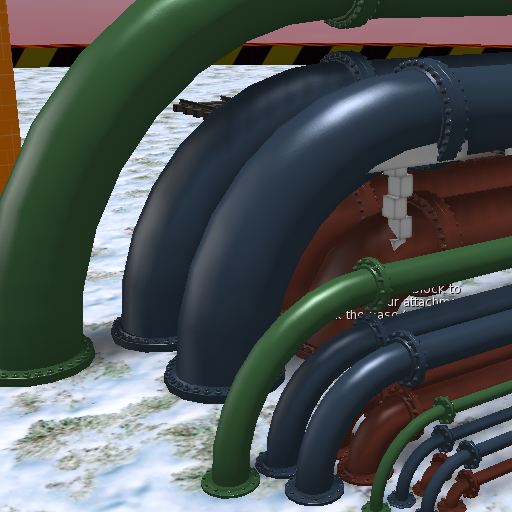
- 3x parallel pipes, straight sections spaced for 1 m, 30 cm and 10 cm pipe flanges.
- 3x parallel pipes, with a 90° curve spaced for 1 m, 30 cm and 10 cm pipe flanges.
- 2x parallel in straight & curved versions.
I still need to get everything clean and packaged up, that’s for tomorrow.
I also prepped the thigh cuffs and updated their code, they are pretty much ready, save for those extra animations.
Thigh Bands WIP
Here is a little update on the thigh bands WIP. I couldn’t get much done last week & the weekend was pretty busy, so that’s why I didn’t post a lot. I think I’m done with the new thigh band model, LODs included. Furthermore, I still need to make a proper suspension pose set (finally?) before I can push this update into the wild.
Ankle cuffs and some new pipe parts
I’ve started working on a much-needed update to the pipe kit, namely parallel pipe sections, both straight and curved, this is the 30 cm diameter version, with just enough space to put the flanges in, and some realistic space between them. I plan on making these for each pipe size since they all need a different amount of space. Not only that, but I might also add some other parts, I’m not entirely sure what else is urgently needed there.
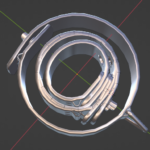
Furthermore, I figured I’d also make a picture of all the remade pieces of the lined chrome set, just to prove that they are all different and unique, because the picture I’ve been posting the past couple weeks might give the wrong impression there.
Lined chrome wrist cuffs remake on the way
I want to apologize for the lack of updates, my sleep cycle and mood have been pretty messed up since I came back from visiting my family on Easter. I’m working on getting everything back on track. In the meantime, I started working on the lined chrome wrist cuffs remake, I don’t have much to show, but they look really similar to the elbow cuffs anyway.
I have to pretty much redo each pair one by one as those are a bit less tolerant to resizing since there isn’t so many parts to them anymore.
The wrist cuffs are also noticeably thicker than the original, it started with the elbow cuffs, because I was accounting for resizing of the original sculpted prims, and I figured I might as well make it consistent across all cuffs, just to give me a little more wiggle room for fitting.
As a result, the collar is slightly thinner, maybe I’ll fix it, maybe I won’t?
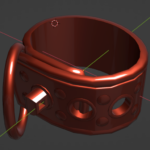
Elbow cuffs!
Why would I do the elbow cuffs first? Well… I did not actually plan this, I picked the wrong reference model and only noticed when I was pretty much done with it.
These look so much better with actual holes…
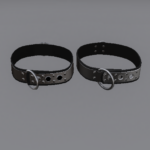
New collar models are complete!
The new collar models are complete (collar body, D ring, triangle ring, round ring). The complexity only dropped by about half, despite only 1/5 of the triangle count.
Oh well, at least the locking mechanism looks much better, some of the click prims are now redundant, and it should be a LOT easier to edit.
I’ll try to update the product picture & push the update sometime tomorrow or Friday.
