Archive for the ‘3D Stuffs’ Category

Riveting, padding and a bunch of adjustments.

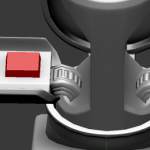
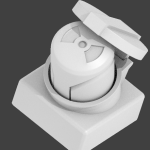
With yesterday’s tests, I figured the most “logical” solution was to put the rivets on a conical surface rather than a flat one. Again this is “design” stuff and serve no purpose to the creation of the object itself, but is useful to ensure that it will look ‘right”… And that’s important.

There is now a groove in the fitting to accommodate the outer cap lip (there is also a slight taper but that’s not really visible) and make the leather a little thinner around the hole. I quickly built up the padding on the back side and added the opposite heads of the rivets.

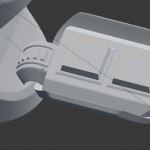
Not in the pictures, I considerably extended the sides because it is supposed to go almost at ear level for the straps to work, I also removed a section of the padding in this area. Unless I change my mind, that’s where the straps will be attached (on the underside basically)

I’m gonna leave this part alone for a little while now and focus on the straps.

Second draft, getting somewhere.

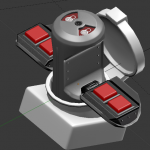
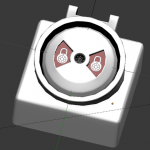
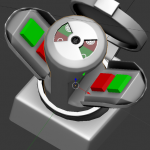
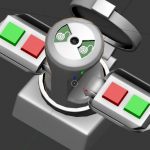
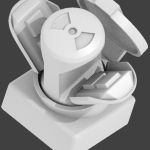
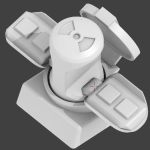
After yesterday’s pathetic attempt I decided to start with the metallic elements first to get a sense of how much headroom I will need to get everything in place. This led to a much better result. While making those internal plugs in all their details isn’t really that important, they help going through the design process. I’m pretty happy with the layout, the external rubber cap is nice and flush with the rest.

I like those “industrial looking” surface notches, normally you use these with a sort of socket wrench to tighten some fittings. As with the rest of my leather objects, the back of the leather panel will receive some generous padding to get rid of most of the gaps.

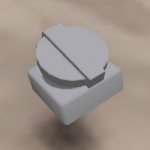
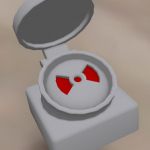
First draft on my panel gag

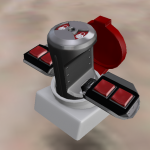
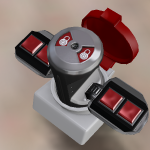
And it’s … kind of bad. I should probably start with the metal gag part and then build the panel around it, this doesn’t really do it for me.

Almost at destination!

Sorry for the lack of updates over the past few days, I worked a lot and didn’t feel like posting every changes.

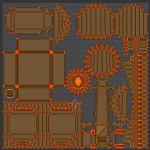
I thought that I had nailed it friday texture wise but by sunday I had decided to rearrange my UVmap to squeeze a little more detail on the straps. As a result, I had to redo all the textures. I finished them sometimes last night (right before I had to go on a (RL) appointment). Following this, a quick snooze and I was back at it…

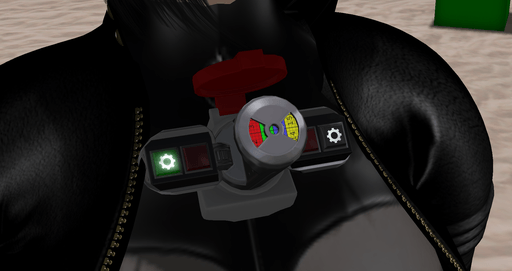
It’s almost done, I should be able to release in the next couple of days, so in the meantime, here are a few vanity shots, from SL this time 🙂

Low poly model done!

2303 triangles for the whole model! That’s not bad at all, it’s in the same range as the shock collar, and the shock collar has some rather intricate little parts. I guess I’m getting better at judging those things now.

Next step for tomorrow: The unwrapping. A few things to consider then, I need to put the outside and the inside on separate texture maps to maximize texture efficiency, I will probably do some UV space sharing on all the metal parts, like I did on the blindfold. It is a little tricky to achieve in blender, but it led to good results last time.

Looks decent…

wip32

What do you think?

And here is the elected variation.

I organized a little informal vote on the 4 possible front ring designs I made yesterday, and here is the winner. All the straps have been rebuilt so they are nice and clean. Modeling wise, this is the “final” version of the high polygon mesh (UNLESS something comes up obviously).

1-2 hour break and then it’s time (finally) for texturing.

Midnight express delivery to Opencollar

I had promised to do a collar for the OpenCollar project so I used tonight’s caffeine induced insomnia to produce quickly (9 hours still…) something simple and elegant following Wendy Starfall’s specifications.

Here is the result. 🙂

Reconstruction, strap work and more questions.

I’ve rebuilt the lower and upper edge so they are identical in thickness and along their whole length, the originals ended up a little mangled by the time I was done shaping the collar. I straightened the back, removed some kinks in the shape and also finished the buckle/strap assembly in the back. Now I’m trying to decide about the best way to attach the rings to the main strap.

Passing the D-rings directly on the strap and riveting it is the “classic” method I’ve been using on almost all my leather products. The other option is to use a small leather loop riveted under the main strap. The advantage of this method is that the ring falls lower which… looks more interesting on the front of the collar and make use of some of the space we have there. The major drawback is that I’m gonna have to greatly minimize this ugly “bulge” that the 3 layers of strap create if I want to use this style.

Alternatively I could add an extra ring to bring the anchor point lower but… I don’t know about that.

Refining the shape, and more strap work.

I spent the day refining the shape of the collar, bringing the sides and the back higher so that the position of the chin rest makes more sense. I also did some strap sculpting, it appears that, in order to fit two on the back, they have to be a little narrower than my usual “standard” strap width, which means that putting two “standard” rivets into it is not going to be possible… This can still change obviously, I could TRY to make the collar even taller to accommodate two full height straps… I don’t know.

I mean this is nice, but maybe a bit too different and I do not want things to be too different otherwise it won’t match with the rest of the serie.

Kyrah Abattoir
Creator of BDSM and fetish content in Second Life since 2004.

Seasoned 3D artist and programmer, aspiring video game creator.

November 2024
M T W T F S S
 123
45678910
11121314151617
18192021222324
252627282930  
Archives
Categories