Archive for the ‘3D Stuffs’ Category
Laborious retopologizing
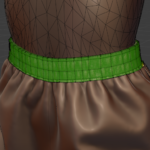
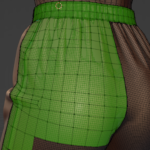
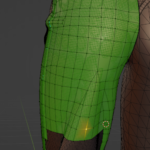
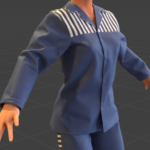
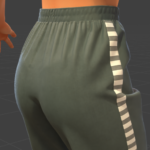
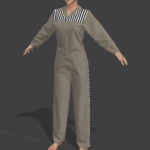
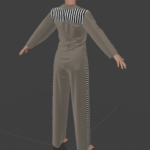
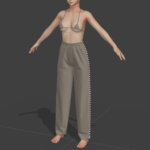
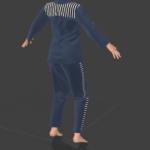
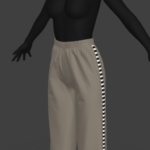
Retopologizing the prisoner uniform has been a really laborious process, these pictures are actually the “good” take I eventually got to.
I believe that I started this over at least 3 or 4 times, I’m trying to keep a nice and clean grid, but I still have to follow the creasing when it becomes too large for simple normal mapping, I initially started at the pants cuffs and worked my way up along the side of the leg (where the striped accents are) but I kept running into problems time and time again.
I also tried to closely match the leg topology, which led to other annoying problems trying to work the creasing into it. Eventually, I ended up making the waist band first, which is the most important “seam” with the body (for the pants that is) and then “grew” the geometry out of it, little by little, trying to roughly follow the density used by the body, and ignoring nearly all the creasing at the waist.
It still need to be smoothed further, but it is the best attempt so far, I try to make sure that I have at least one crude, full polygon strip around a given area so that I do not paint myself into a corner filling it all in.
And so far, it has been working allright. (I ended up working extremely late last night instead of sleeping, as I didn’t want this “win streak” to stop just yet)
Random bonus and social media bait, two things that stable diffusion made:
Prison uniform cleanup progress
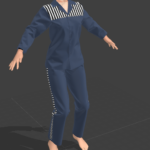
I’ve spent the better part of the past few days cleaning up the prison uniform model. I was initially going to hold off on making a blog post until I’m actually done with this step, but it is taking a little longer than I had planned, and isn’t improving the final result by a lot.
I’ve actually stopped caring about a bunch of things I did initially want to fix because… well you can’t really see it.
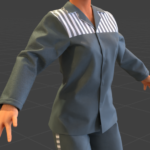
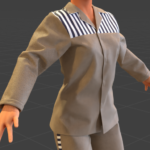
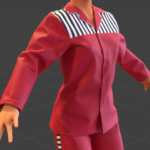
Furthermore, I have also played a bit with shader properties to get something more fabric-looking. You can see a few variants that I lifted from my reference photos & drawings.
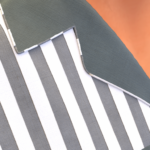
There is this tiny detail that I am not sure if I want to keep: Considering that the backside of the collar uses the same fabric as the striped accent panels, I can have that fabric “peek” around the collar hem, or I can have that hem use the plain color instead. I’m not sure if this is desirable, but I have it visible, for now.
You can also “kinda” see the micro bikini panties through the pants of the uniform… In my eyes it is really subtle, but I might end up rubbing that out.
Prison Uniform picture dump
I’ve been rather busy on the prison uniform project this weekend and today as you can see 😀
I added my micro bikini to the dressing dummy, to make sure there is some “underwear space” under the pants & shirt. (and because it can’t hurt to make both compatible, right?)
A good friend suggested changing my dressing dummy to a version with bent legs and arms, to help with knee and elbow creases. It took several attempts to get it right, (the blue version), but I think I got it this time.
I also added a proper hem on the pant & sleeve cuffs, just to give it a bit more depth and “rigidity”.
It might actually be good enough to move over to Blender at this point, the pose will be a bit more complex to straighten but… We will see how it pans out.
And back to this project.
Hard for me to admit that it has been in a hiatus for a year and a half!
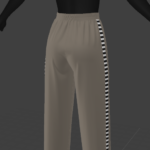
I’m redoing the pants at the moment and hoping that I can get a better result than last attempt.
The crotch area appears to be in a better place now, I’m tempted to add my bikini to the reference model to add a bit of underwear bulk (but having the two work together would also be a nice touch)
I’ve unpinned the pant legs for the time being, I’m hoping to come up with better creases there in the coming days.
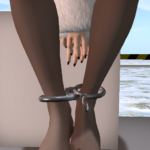
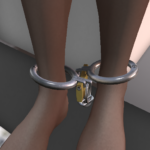
Ankle shackles almost ready to go!
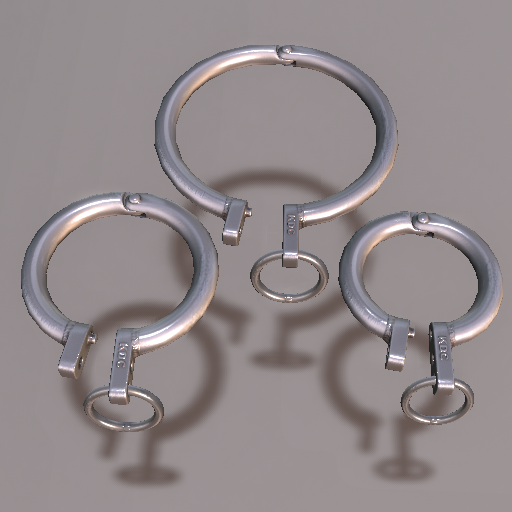
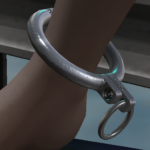
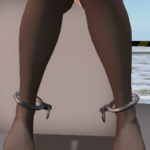
I made some good progress today and over the weekend, and I’ve almost finished the ankle shackles variant.
I couldn’t re-use the collar texture because it is so much smaller and the band area ends up too compressed and unnatural, I’ll try to reuse the texture for the wrist version, however.
So far, the look and feel of the ankle set is my favorite, and it will probably remain that way since it is what the entire set was really all about.
Making a handful of new bolt types
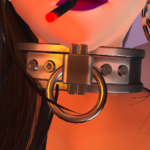
The prisoner neck shackle (current name, yay!) is almost ready to go scripting, configuration, animations, it’s all done.
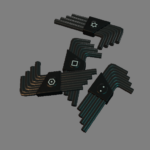
I also decided that since we now have a handful of items that support screw/bolt locking, it would be a good time to introduce a handful of new bolt styles.
- “Secure” hexagonal (the ones with eh little post in the middle)
- Square (we had triangle already, right?)
- Hexalobe (torx-like)
- Spanner drive
Textures and LOD models complete
I’ve just finished cleaning up and uploading the final models & textures. I was going to use a custom specular map, but it doesn’t appear to add much to the overall look, so we’ll do without and save 2Mb of textures.
I still have the feeling that I’ve gone overkill on textures with this (1024×512), since most of the detailing immediately disappears unless your eyes are glued to the model.
In my eyes, it looks acceptable… now I need to get on with the scripting.
Shackle set progress
I was sick on Tuesday, so I pushed the shackle set progress update to today.
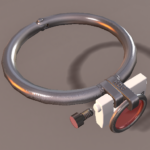
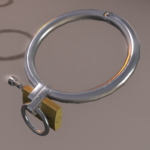
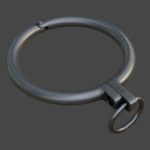
I’ve gotten in a place I kind of like when it comes to the texture, it definitely looks very nice in blender, but might need to be a little coarser to do the trick. Furthermore, I ended up reusing one of my “scratched” node group, I don’t even remember how I made it, but it does “things that I like”.
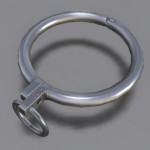
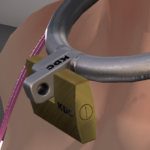
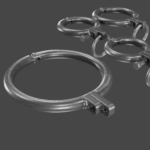
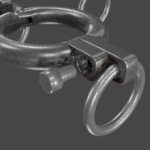
I forgot to unwrap the ring, granted I could just use a prim for this, but I need a click surface to cover the hole, and so I might as well make it a mesh too.
This is no good…
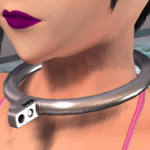
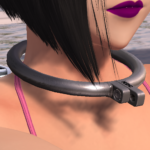
This is no good, I’m sleep-deprived again… I have spent most of the day trying to come up with a metallic look that I like.
So far? Nothing really horrible, but nothing that I like either.
I’m trying to create something that doesn’t look painted and has a little amount of wear visible. Not too much, but not too little that it won’t be visible at all. I’ve even tried using some of my previous metal materials without much success.
I tried adding a bit of rust too, but it doesn’t look right either and whatever scratches or uneven brushing I tried to add wasn’t really noticeable enough, or looked fake.
