Archive for the ‘3D Stuffs’ Category
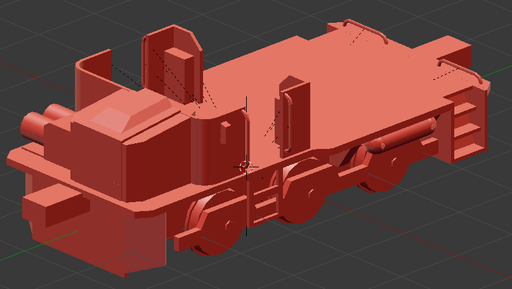
Updates on the train stuff
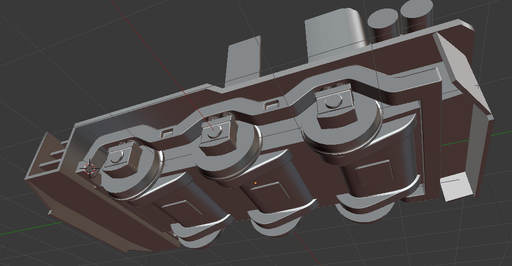
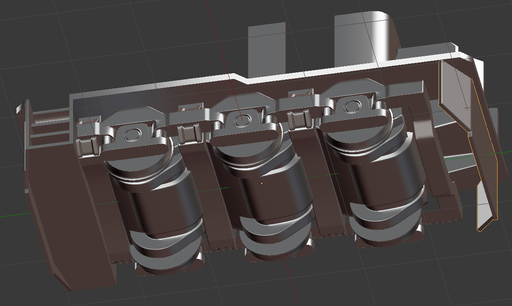
I’ve spent a lot of time today working on the undercarriage. I’m also pushing the model to high-resolution I will rebuild a low-res over it at the end. I tried two different frame designs and the second one appears to do the trick.
One small issue: its way too wide for the ladder and brake tanks.
Complete reupload, … twice.
So now that I finally understand how exactly to use Blender’s weight copy ( took me long enough and two friends good friends! ) I Essentially re uploaded all the parts of the suit at least… 3 times? today? (I’m not counting the rest of the week ugh. And yes I DO use the beta grid, for tests but this has been the final upload several times already)
Release? Soon(tm).
Did I ever mention that I hate making HUDs?
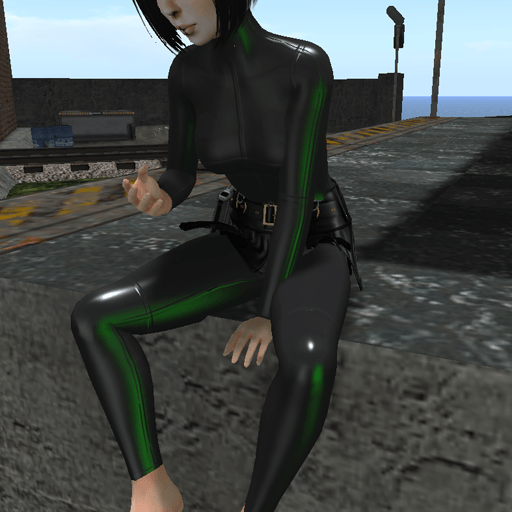
I should have posted some updates earlier this week but didn’t think I had anything good to show.
I’ve ended up redoing the creasing of the suit at least 6 times now, but I think I’ve finally got it the way I want, now it’s fairly discrete, what you would expect from something stetchy and well fitted. The 3D models are 99% final. I did a few last-minute adjustments to the AV2.0 neck versions and made a classic avatar neck too, so I still have to splice those in.
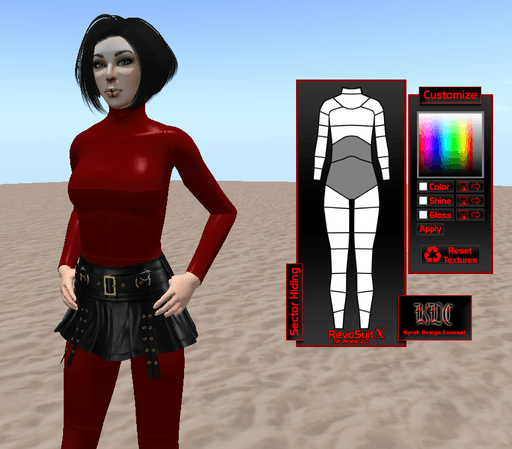
I spent most of the day making a simple HUD to customize the main suit features.
A little project over the weekend.
I wrote this amazing trains scripts a few months ago, unfortunately, all i had for it was a model from the marketplace. It was too big and simply not practical to use.
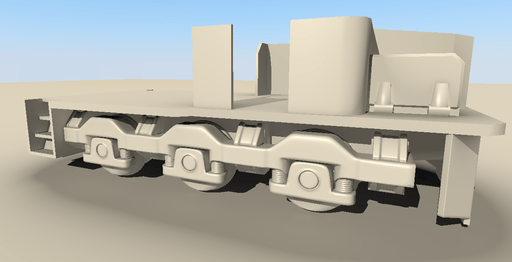
So I started making this adorable little service locomotive. It’s just under 8 meters long (this is a prim mockup imported in blender by the way), with a small flatbed for partying transporting cargo.
Creasing
It feels like the revosuit all over again! I’ve spent the better part of the day trying to get my tablet to work on windows 10, and figuring out the paint tools in Blender.
It might take a little while to get the creasing right.
A few good pictures
I got some of the surface details down, namely the seams and battled with a couple of issues related to baking and normal orientations, great stuff.

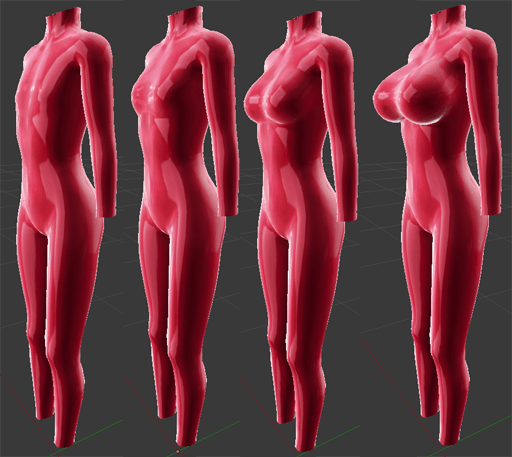
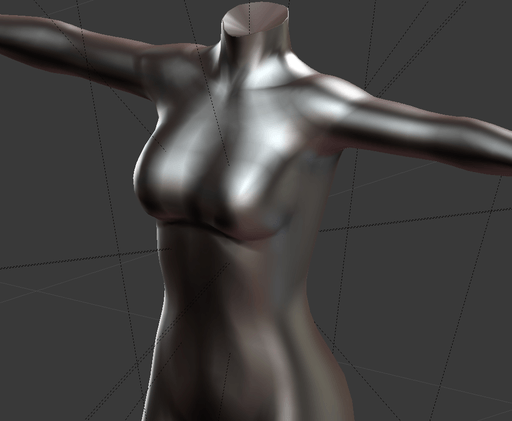
Weight painting and chest sizes completed!
Mesh wise I think I’m going to call it done. I also figured out how to do the hideable segments on sunday (with the help of friends). So now really, it’s all about working on the textures 🙂
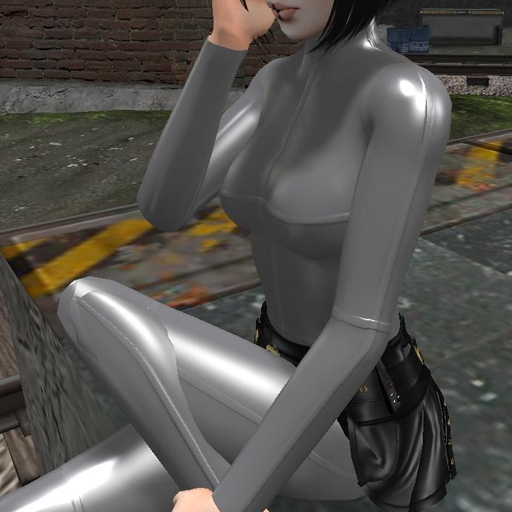
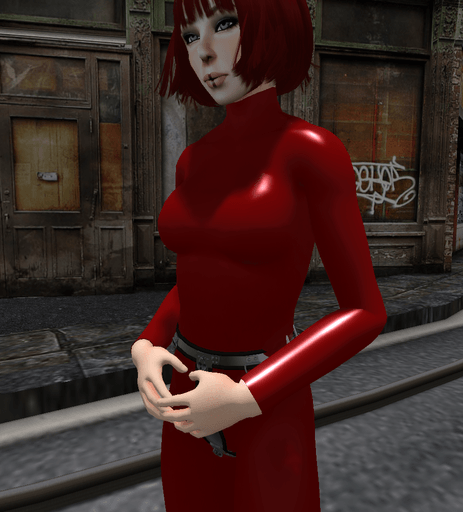
Avatar 2.0 Catsuit in the making.
For those who lived under a rock for the past few years, Utilizator Mode makes a very nice mesh body called “Avatar 2.0”. Its proportions are loosely based on the Linden Labs avatar, but with much better joints and curves. It is also one of the better optimized mesh bodies.
I’ve started a project related to it which is a bit of old with a bit of new: A new latex catsuit.
The goal is to get a 100% material catsuit (advanced lighting only) in the 4 breast sizes offered by avatar 2.0, with full color tinting support, normal mapped details & specularity.

New project on the way!
This one might not be to everyone’s taste, but I do have a (very mild) interest in the world of financial domination.
But because everything I see in SL and on the rest of the web only screams exploitation, greed and abuse, I decided to make my own little utility that can be used in this kind of play, it is very simple, extremely safe and focused solely on consensual roleplay.

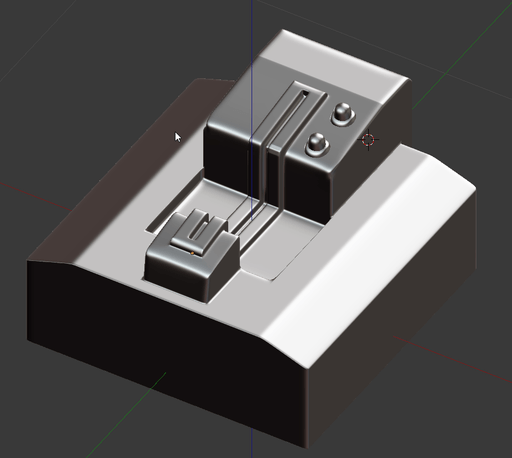

And yes it’s a chest mounted card slot 😀
I was going to post a function breakdown because the script is almost finished, but I figured I would do that on release 🙂
Also… it doesn’t have a name yet, and i cannot find something that is neither nondescript, or ominous.
Back on track
Finalised the textures of the cage, this time in natural sunlight (not in those pictures tho) I also made the anchor plates and they look perfect.

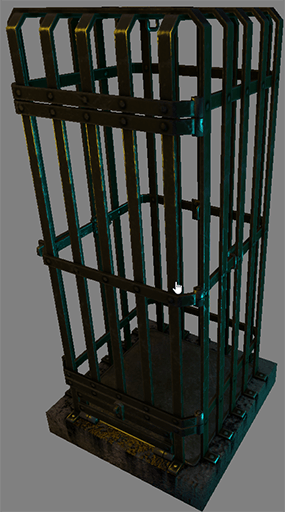
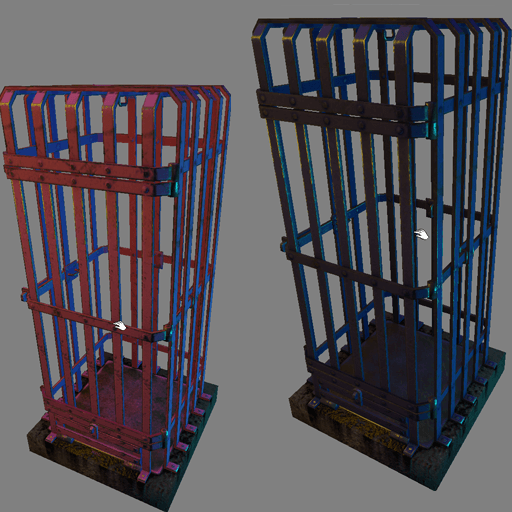
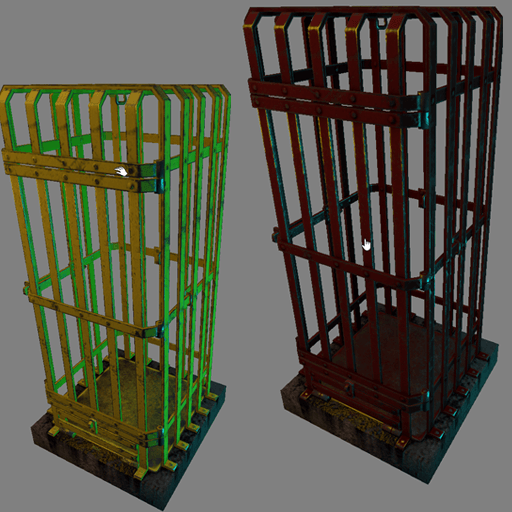
So far the colors are:
- Red
- Yellow
- Blue
- Pink (it looks like a unicorn exploded inside the cage IMHO)
- Black
- Olive drab
- Aged
Please post any color suggestion you may have (with an RGB value pretty please :D)