Archive for the ‘3D Stuffs’ Category
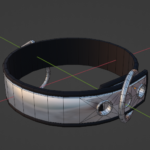
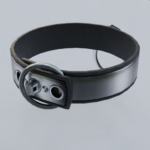
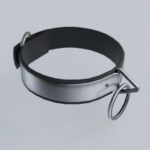
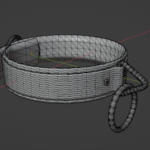
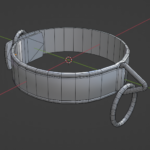
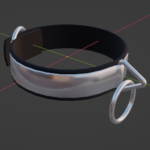
A bit more work on the Lined Chrome Collar remake
The Lined Chrome Collar remake is going well, I still have no idea how it will end up looking in-world. I’m thinking about adding a very simple material setup on the backing to enhance it a little compared to the original.
I did a few “fancy” renders to test it, it is a bit subtle, maybe too subtle, but it works.
I have also re-added some of the small details, like the surface rivets, the adjustment holes (actual holes this time!), and the locking post.
Lined Chrome Collar remodeling
This probably wasn’t the most urgent thing in the world, but despite its age, the Lined Chrome Collar is a fairly important product because it contains all the core features used by all the other items… and yet it is still an old crappy sculpted prim.
Since I don’t really have the original models anymore, my goal here is to recreate it as best as I can, but also to correct the many issues of the original, especially the ludicrous polygon count.
The first picture is the original, 15000 triangles… The new one isn’t complete yet but weighs a mere 2800 triangles, with all the parts that are done at the moment.
Last minute additions to the padded cell!
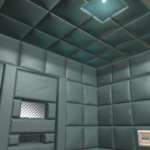
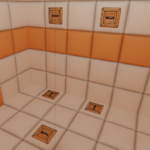
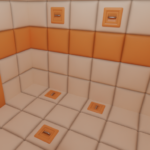
I’m almost done with the padded cell, I swear! But I did make a few last-minute changes that were requested by some friends. Namely, ceiling padding (yes it is a bit weird with the lamp) and a few requested presets.
I also made a preset “demo” feature but that’s mostly for the store demo than anything.
I can’t really release this weekend as I’m not gonna have the time to do it, so I’ll wrap everything up on Monday or something.
The padded cell is almost ready to go!
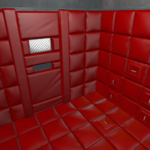
I’m almost done with the padded cell project! All the creasing is done, and it makes everything looks 1000% better in my opinion. I still need to fix a few issues, such as the new anchors having the wrong mesh orientation and the script is getting a bit confused by it.
The new customization menu is really simple with a section for the door label, a handful of color presets for all the parts, and you can choose between creased and uncreased normal maps. If you don’t have materials enabled in your viewer it won’t do anything and… well… it’s 2022! You should be getting on with the program 😛
I might add a menu section with a few common sets of specular properties for the padding, but I know most people are going to tweak to their liking anyway.
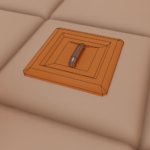
Anchor points & creasing
I’ve finished the new anchor points that I want to ship with the padded cell as well as some subtle creasing on the wall padding. Picture re-ordering appears to be currently broken on the site.
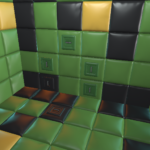
The creasing was a little bit weird to nail down and I had to tone down the shading on the diffuse texture a little bit to prevent it from breaking the effect.
Also, a goofy picture today, the wordle cell >_>
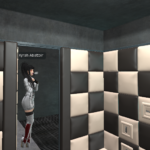
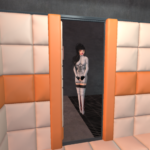
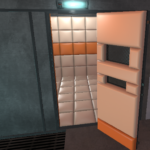
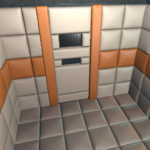
Padded cell in-world testing
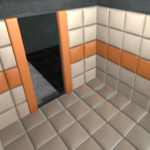
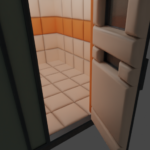
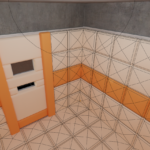
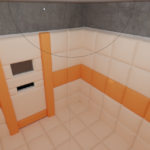
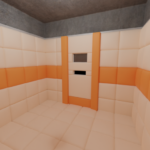
I’m nearly done with the padded cell body and door models. I am still struggling with some door collision issues (I keep forgetting the proper way of doing this…). Most of the padding textures are test uploads and unfinished, as I’d like to add some sculpted details & irregularities here and there to make them look a little more natural.
That being said, the flawless look has its own appeal… almost comfy.
I couldn’t complete much work last week, some of my equipment came back from repair and I wasted a ton of time with that.
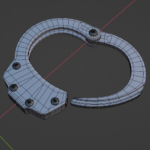
Some kind of handcuff project?
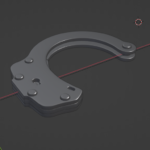
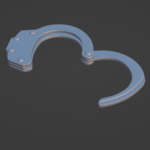
A little handcuff side project I’ve been meaning to work on for a while. These are based on a pair of existing handcuffs but I intend on modifying the design somewhat and making them something a bit more unique looking. Must make it chunkier :3
The first picture was my initial attempt, but I did not like it and got lost in details that probably didn’t need to be added yet.
Padded anchor plates and a few more things
I had to get rid of the diamond-shaped top on the padding because it did not allow me to put anything on top of them. Which was an issue, since the new padded anchor plates I’m making for this cell version are designed to sit there.
The new chain anchors are based on the ones in Tang‘s “Horny Jail” set (go check it out), those are kinda meant to be low-profile floor/wall inserts. It would be better with straps, but I can’t really have that.
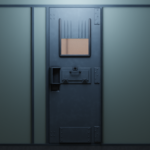
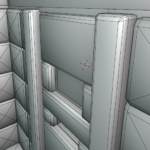
The low-poly door padding is also complete and I’ve closed off the bottom hatch of the door with a little umm… kick plate? I don’t know, I could have removed everything but it looked a bit bare. The door padding will have to be colored all as one because I do not have an extra mesh “face” to spare for the bottom section. Oh well.
More padded cell progress
More padded cell progress! I’m so original with titles, isn’t it?
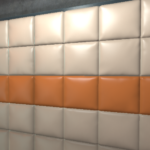
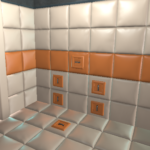
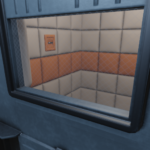
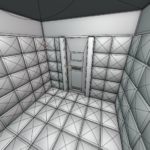
I’ve unwrapped all the cell padding and done some test normal/texture baking. It pretty much looks identical, so this is another case of me trying too hard… I guess? The mesh “faces” I reclaimed from the floor/walls of the cell are just enough to have the door side pads, the walls, and the accent pads.
I’ve also started to modify the low-poly door, I’m wondering if I should make those door pads even thicker, I’m just not sure that it is going to clear the doorframe anymore if I do. It is also going to eat an extra mesh “face” and I don’t really have any spare unless I remove the bars from the window and go for glass-only.
Padded cell refining & low poly work
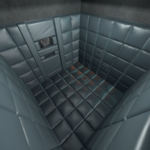
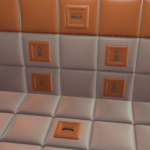
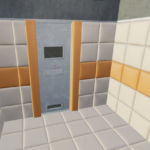
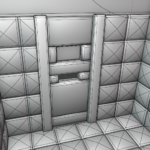
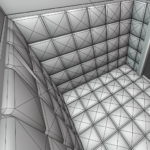
Small update, I’ve refined the padding shape a little, tightened the gaps between the cushions, and fixed alignment issues left and right.
The last picture is the updated high-poly, and I also used blender’s new denoiser for the render so it takes less time (not that it is of any use for the model itself, but hey fancier picture), I need to use this more/remember that it exists.
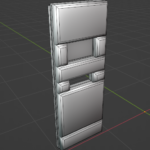
I also modeled a big chunk of the low-polygon mesh. I haven’t tried rendering my normal maps yet or done any preliminary unwrapping either. This is a bit dense geometry-wise for a piece of structural mesh but it should be very easy to optimize on the lower LODs.
I’m still debating on re-adding the lower hatch on the door. Simply because it means I don’t have to create a texture variant for the door itself and only have to pad the inside 😛
(Well, the hatches also add a lot of visual appeal to the door’s otherwise flat surface)
