Archive for the ‘3D Stuffs’ Category
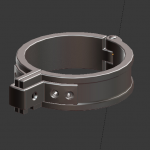
Another test bake
This is like the 3rd time I unwrap this object and I forgot the logo again (every project it seem).
I don’t know what’s wrong with me, but at least you get to see a more “complete” picture (I also don’t know why I have rendering glitches left and right).
Early bake test
It could have been worse.
I just discovered that Blender Cycle doesn’t like models with edited normals, and as it turns out it’s also not what I used on the headcage (but I thought…) so I made a kind of compromise by rendering it twice, and mixing the two diffuse maps.
The headcage material doesn’t work too well on its own on something that doesn’t have a lot of surface detail, and the normal map doesn’t bake properly with the new material, but mixing both gives me a relatively “nice” result.
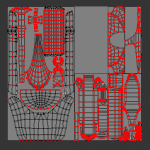
I gotta make the final set of UVs now.
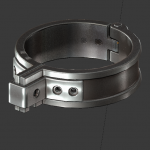
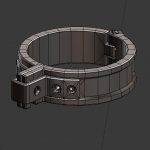
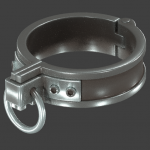
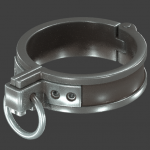
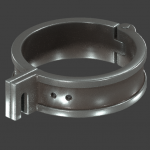
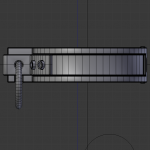
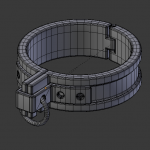
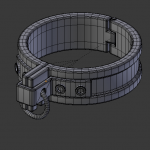
Low polygon collar stuff
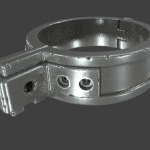
One thing does bother me: these 10 sides bolt holes seem just a little too visible. But I’ve been a dum dum and it’s how many sides they have on the high-poly.
16 sides would probably be better but it’s going to be annoying to fix.
Not much progress to show.
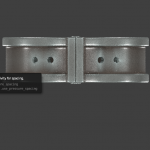
Not much to show, I’ve cleaned up all the holes, because well, the whole “CAD” approach doesn’t make for very nice and precise holes when it involve boolean operations (who would have known!).
I’ve cleaned up most of the hard edges and fixed things that didn’t play nice with the subdivision modifier.
I haven’t done much more on the dirt mask but I do like it as it is, I might still introduce a little bit of chipping and scratching if it turns out that this is not enough after the first bake test.
On the lowpoly model side, I was HOPING to have something to show yesterday but I wasn’t in the greatest mood and MIGHT have scrapped it at least 3 times…
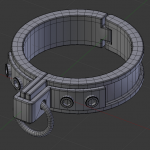
More work on the new collar!
On the menu today:
- Slimmed down the edge trims to be more “in line” with what I had in mind.
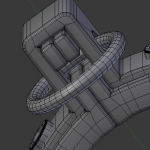
- Much bigger leash ring. (bigger is cuter)
- Sturdier hinge & pin. (making it seamless was a pain with the modeling method I’m trying)
- Metal and edge wear tests. (I think it’s just too much but some discrete edge would give it some personality)
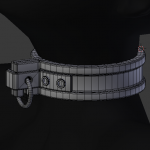
I would like those screw holes in the collar to be a litle less sharp, but the model has a tendency to explode 😀
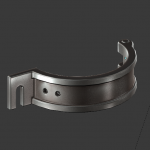
A new collar project thing.
I’ve played a bit with some interesting modeling methods I discovered during my break.
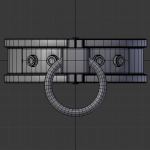
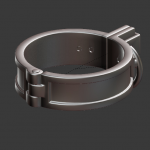
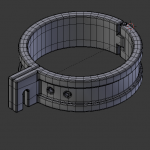
The idea of this collar is that it’s going to use threaded bolts instead of padlocks for locking, and it is constructed in such a way that you have to “lock” it to get a leash ring (the ring is attached to the mending plate on front) and unlocking it will effectively get rid of that ring. Quirky, I know.
- Picture 1 was the initial design but I’ve widened the edges and made them a bit more rounded.
- Pictures 4-5-6 show how it looks unlocked, partially and fully bolted.
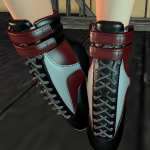
First inworld tests!
Unwrapping done, this is my first bake test on this project and it looks amazing 😀
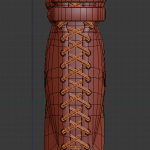
Lacing done, now to unwrapping…
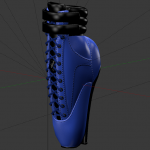
I got everything laced up cleanly and optimized the hell out of it, that’s about 1200 triangles worth of lacing in the end. Unfortunately there is no way around this.
I’ve also started packing my UVs and went for an “optimized” solution for the lacing texture ( 32×32 pixels 😛 ).
I really hope it will look right in the end.
Now all I have to do is lace it up, right?
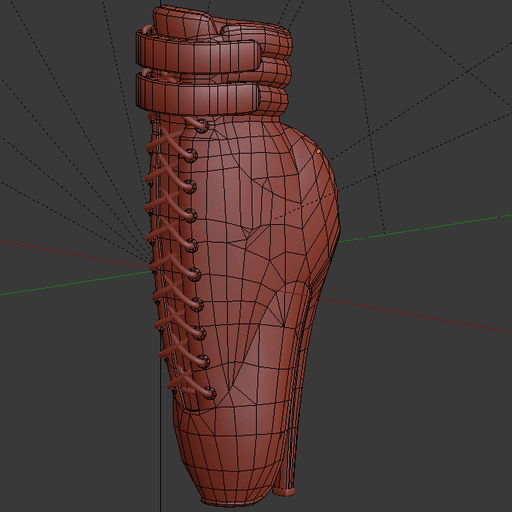
Pretty much. I also would like to take some time to figure out if there is any chance to simplify the model further. 4500 triangles is still an awful lot.
I blame all those curved texture seams!
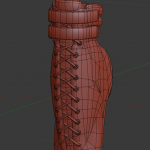
More work done on the lowpoly
I was pretty much nodding off the entire evening yesterday so I pressed on until the main body was completely filled in.
I’m not sure if it looks any different from this angle…
